Find out what the propagation and garden teams have been up to this week.
Gravel Garden Creation and Maintenance

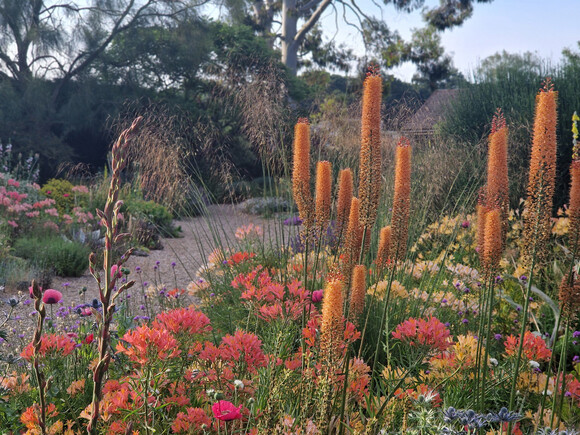
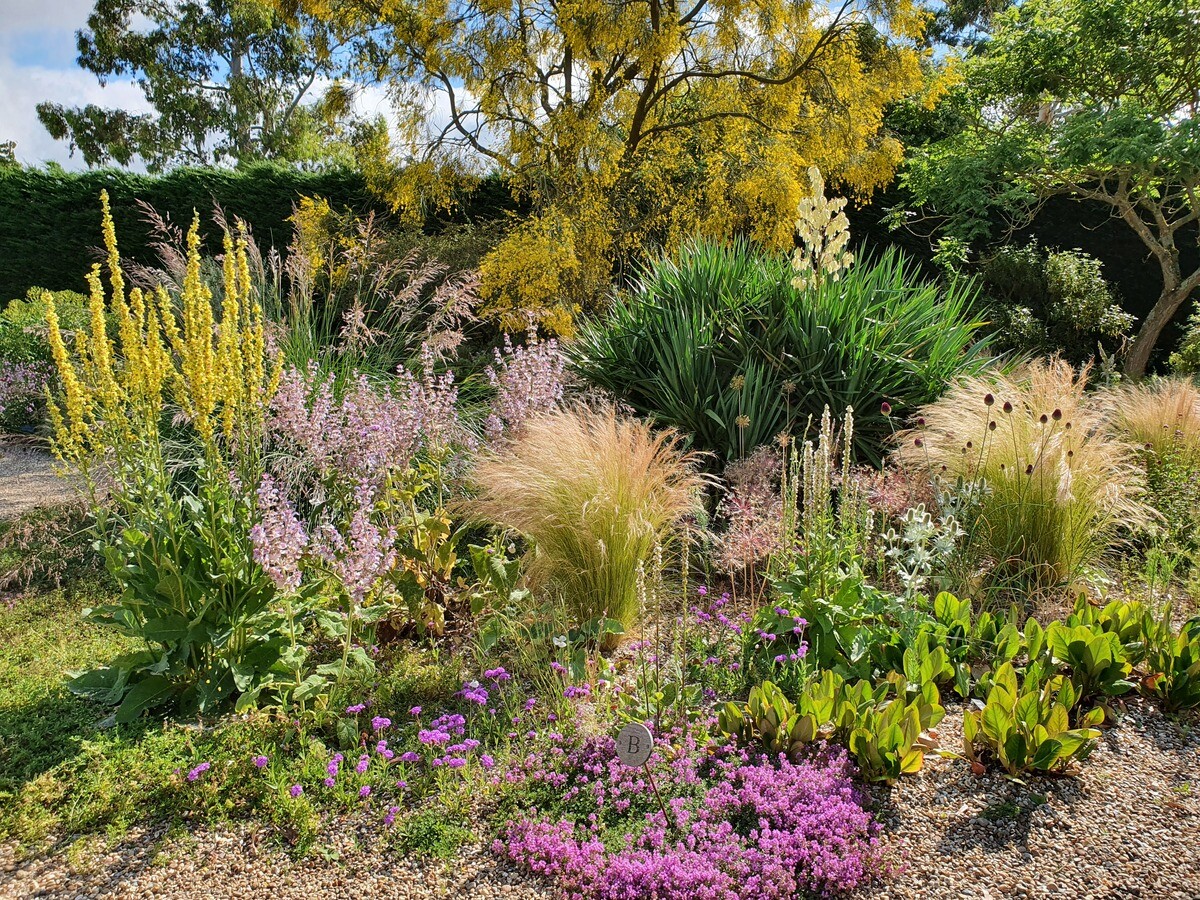
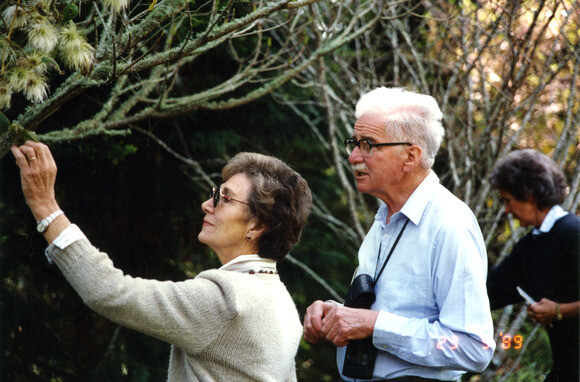
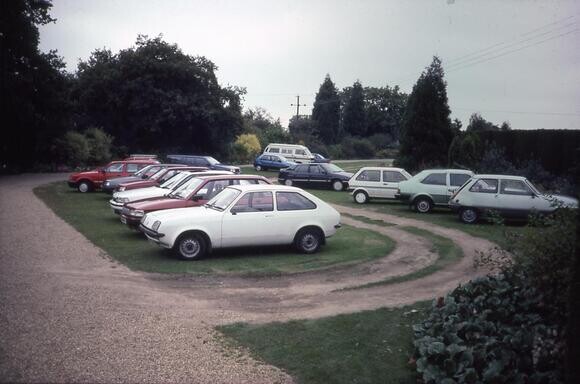
The purchase of a piece of land, to create a larger carpark for her growing visitors, gave Beth the perfect opportunity to bring to life her very own Gravel Garden, showcasing drought tolerant plants noted from trips abroad, or those plants already successfully growing in other dry, free-draining areas in the garden. The design inspiration for the Gravel Garden came from a partially dried up river bed encountered by Beth whilst on a trip to New Zealand in 1989 with friend and plantsman, Christopher Lloyd.
Beth knew the ¾ acre former carpark offered the perfect conditions for these resilient selections; thin, poor soil to a depth of 6m and a full sun position. As this new area was to be treated as a horticultural experiment, one to see if it was possible to create an unirrigated garden in one of the driest parts of the country, the plants had to naturally be adapted to cope with long, hot, dry summers on their own. Over the years, Beth and her team have experimented with a broad range of drought-tolerant plants, many native to arid areas, particularly to nutrient poor Mediterranean landscapes.
Right plant, right place
Beth credited her understanding of plant needs to her husband Andrew’s life long study of the native habitat of garden plants. Andrew’s research, recognising the link between plants and their natural environments, can be accessed here.
Work starts on the Gravel Garden
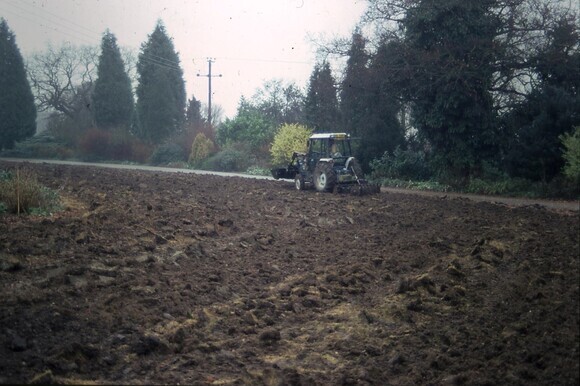
Work began in the autumn of 1991. A subsoiler pulled behind a tractor, was used to break up the heavily compacted soil to a depth of 60cm, allowing rain and roots to penetrate. The whole area was then ploughed, turning in the existing grass. In January 1992, a borrowed farm roller lightly flattened the furrows so Beth could lay the initial design. The position of the island beds was determined by laying out hose pipes on the ground until Beth achieved the desired effect. She carefully considered the flow of the meandering path throughout the garden and the overall appearance of the separate beds to one another.
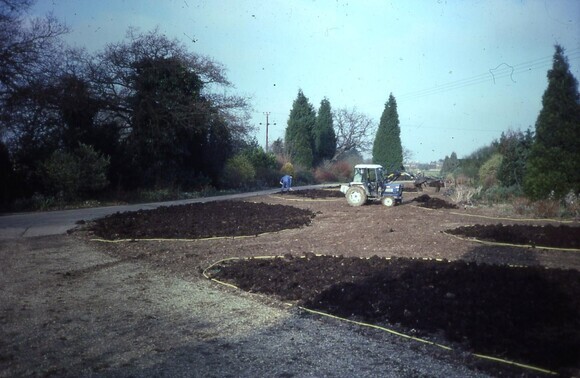
The surface of the beds were then covered with homemade compost, spent mushroom compost and bonfire waste to help conserve moisture. This was incorporated to a depth of two spits to help provide nourishment for the first few months, offering plants the best start.
Planting begins
When the soil had settled by March 1992, the paths were gravelled and Beth was able to begin planting. As plants were going to be unirrigated, it was essential to give them the best start by dunking them in water to ensure the rootball was completely saturated. Pots were placed out, planted, and each thoroughly watered in using a hose.
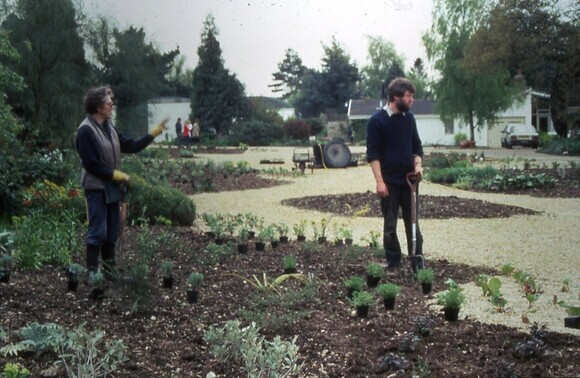
For the first year, Beth chose not to use a mulch as she wanted to be able to deal with any inevitable weed seedlings easily which would sprout from the incorporated compost. Any seedlings were routinely hoed during this first year, avoiding any further weeds setting seed.
By the spring of 1993, the beds were ready to be mulched with local 10mm gravel to a depth of approx. 3-5cm, helping to retain some of the moisture still in the soil.
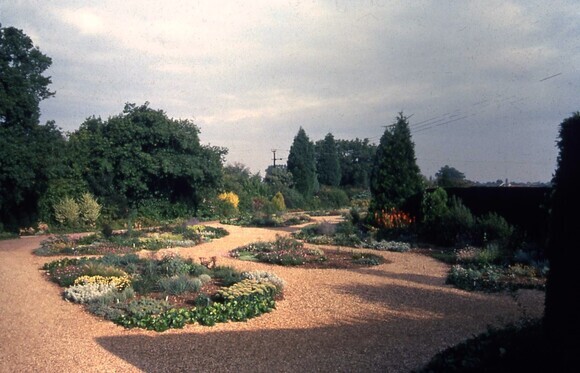
Testing times
During the summers of 1995 and 1997, the drought tolerance of the plants were tested when the garden was subjected to abnormally high temperatures and minimal rainfall. The soil beneath the mulches eventually dried out and plants began to show signs of stress. Seeing her precious plants wilting, Beth was very tempted to give up on her experiment and reach for the garden hose. Nursery manager, David Ward, persuaded Beth to hold firm, continue with her experiment and use the opportunity to observe how plants would respond. Thankfully Beth did stick to her guns, trusting the plants ability to survive such conditions, and as soon as cooler weather and penetrating rain arrived, plants recovered and sent out fresh new growth.
The Gravel Garden today
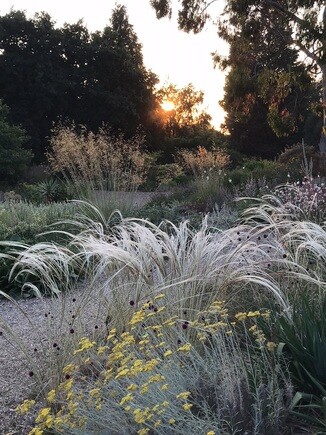
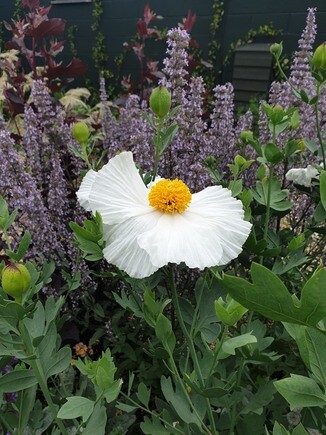
Planting in the Gravel Garden has altered slightly from Beth's original selections, resulting in only those plants that are truly drought tolerant remaining. For example, achillea was included in the initial planting, but over the years have petered out, struggling to cope with the extremely poor and dry conditions. Some plants have been lost or removed, but many have also been added. Plants such as Stipa barbata, Hylotelephium ‘Red Cauli’ and Romneya coulteri are all later additions to the original design.
Changes to soil preparation
When an area of the Gravel Garden is rejuvenated, the team try to improve the soil just enough to give plants the best start, but not increase the nutrient value of the soil too much as this will encourage lush, leggy growth in late spring/early summer, which come June or July, will wilt and struggle in the heat.
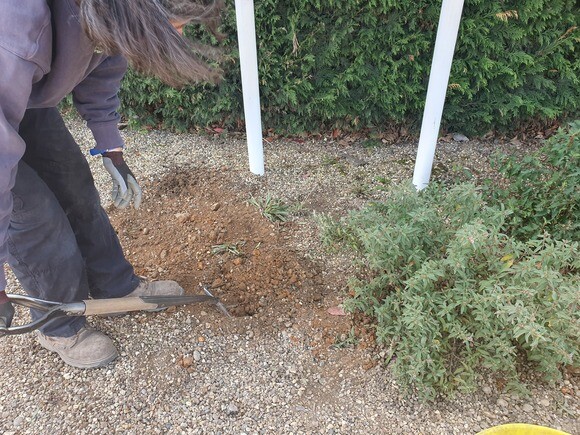
The area is initially dug over to relieve compaction and remove roots. A layer of soil improver is added to the area to a depth of approximately 2cm and then incorporated into the existing soil beneath by forking in. The soil improver used is composted council green waste which is low in nutrients (great for the plants which thrive on poor soil), but helps to build up the soil structure, improving its water holding capacity.
Plants are dunked in water until saturated as before, but before placing in the ground, much of the richer potting compost that plants were grown in, is removed from the roots to encourage them to venture out of the planting hole.
Are Gravel Gardens low maintenance?
I think the gardeners would all agree that the Gravel Garden is the most labour-intensive part of the garden, with warm gravel providing the perfect germination conditions for seeds. Many perennial, biennial and annual plants are left to self-seed, allowing plants to migrate from one area to another, continually changing the scene. Undisturbed plants left to develop in the spot they germinated will be stronger as their growth develops unchecked from transplantation.
Editing in the Gravel Garden
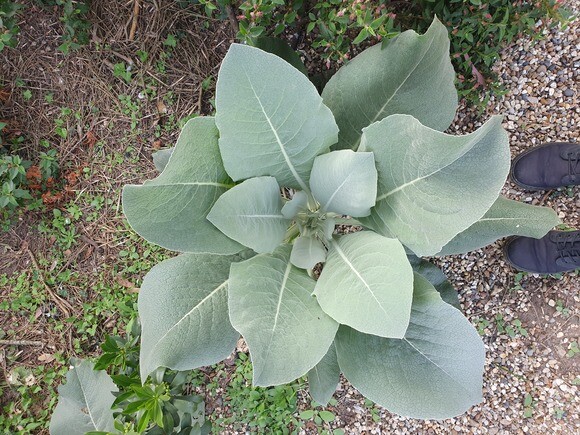
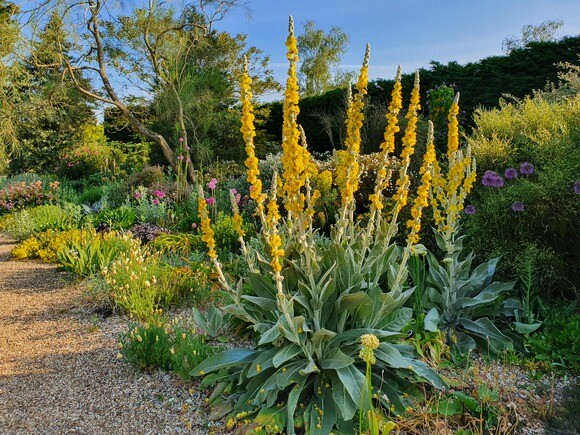
Many of these seedlings however will be meticulously ‘edited out' and the position of remaining seedlings carefully considered. A good example would be Verbascum bombyciferum; a rash of hundreds of seedlings will be reduced to only one or two and left to reach maturity. The rosettes can reach up to 1m in circumference so thought needs to be given to their final place within a border. Do they have enough space to reach their final size? Are they growing too close to their neighbours? Will their final height look out of place among other plants? Gardener Sally has written a blog about self-seeders and ‘pioneer’ plants which you can READ HERE.
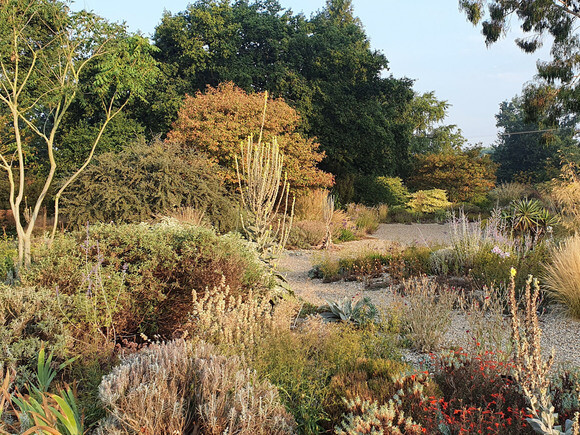
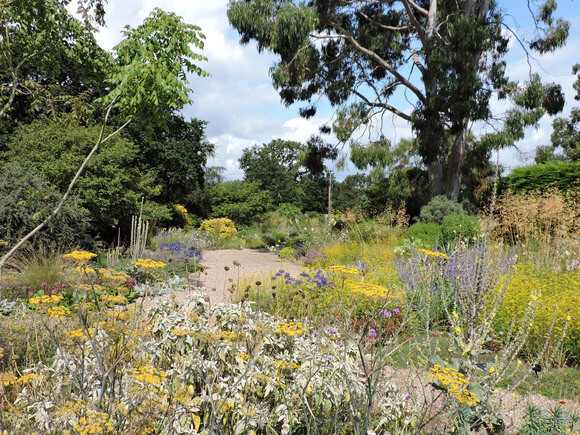
If plants struggle during the summer months and begin to wilt, we may cut them back by half to reduce the stress on the plant. Come early autumn (when we typically receive more rain), the plants begin to perk up again and put on fresh growth. The spring and summer of 2018 were extremely hot and dry with the plants in the Gravel Garden enduring over 50 days without rain, really putting them to the test! Head Gardener Åsa explains HERE how the garden team mitigated the effects.
Weed membrane
We are often asked if we use weed membrane under the gravel mulch, and visitors are very surprised when we say no! By not having a barrier, we have access to any perennial weeds making removal easier. If we are unable to remove the whole root because of shrub or tree roots, we continue to dig out what we can reach, eventually weakening the plant and reducing vigour. A weed membrane would be no use against annual weeds, freely seeding into the gravel mulch on top and their fine roots growing into the membrane. As many feed tread across the gravel paths, it can begin to wear thin, especially along the edges. If a membrane was underneath, it would look very unsightly when this happens.
Fertiliser
Another question we are often asked is, 'do we fertilise the plants in the Gravel Garden as the soil is so poor?' The answer again is no and leads back to the importance of soil preparation. Any food that plants receive would come from the addition of organic matter incorporated in the soil prior to planting. By choosing plants that are suited to the soil conditions and by preparing the soil to the needs of the plants, there is no need to feed with additional fertilisers.
'Most of the plants I have chosen for this area do not require extra feeding and would grow out of character if overnourished and therefore would be more likely to collapse when suddenly hit by high temperatures without adequate moisture to sustain them.' -Beth Chatto
Written by Media and Communications
Manager- Leanne Crozier


In the garden I designed and created in 2007 I developed a gravel garden learning a great deal from Piet Oudolfís ideas and obviously a great deal from Bethís gravel garden and the books of Christopher Lloyd.
I continue to develop this gravel garden and it has been very successful over the years because I worked hard to plant it in the beginning giving the plants the best start in life.
I found the comments earlier very interesting. It makes for interesting gardening and I have had a great deal of interest from visitors when open to public as soon many of my plants have been purchased from Unusual Plants and I will continue to do so as long as I can physically garden.
Itís the most wonderful hobby and knowledge is always available if one knows where to look.
Best wishes - I will always love your garden and constantly tell others how wonderful it is.
Sandra Hynes
Your garden looks amazing. I have gravel garden, planted about 12 years ago. I am now thinking or rejuvenating it. I intend to lift gravel and replace the soil. I was interested to read you don't use membrane or feed. I use both. My garden has not been a success and most of the plants while still there have not done much. I live on the west coast of Scotland and the gravel garden is west facing. I have managed to grow around it,bplants to give it shelter. It is sandy in the area the gravel garden is planted. I was considering adding horse manure an worms to the soul when I get round to re planting. Any advice would be appreciated. Kind Regards. Margaret Ann