Find out what the propagation and garden teams have been up to this week.
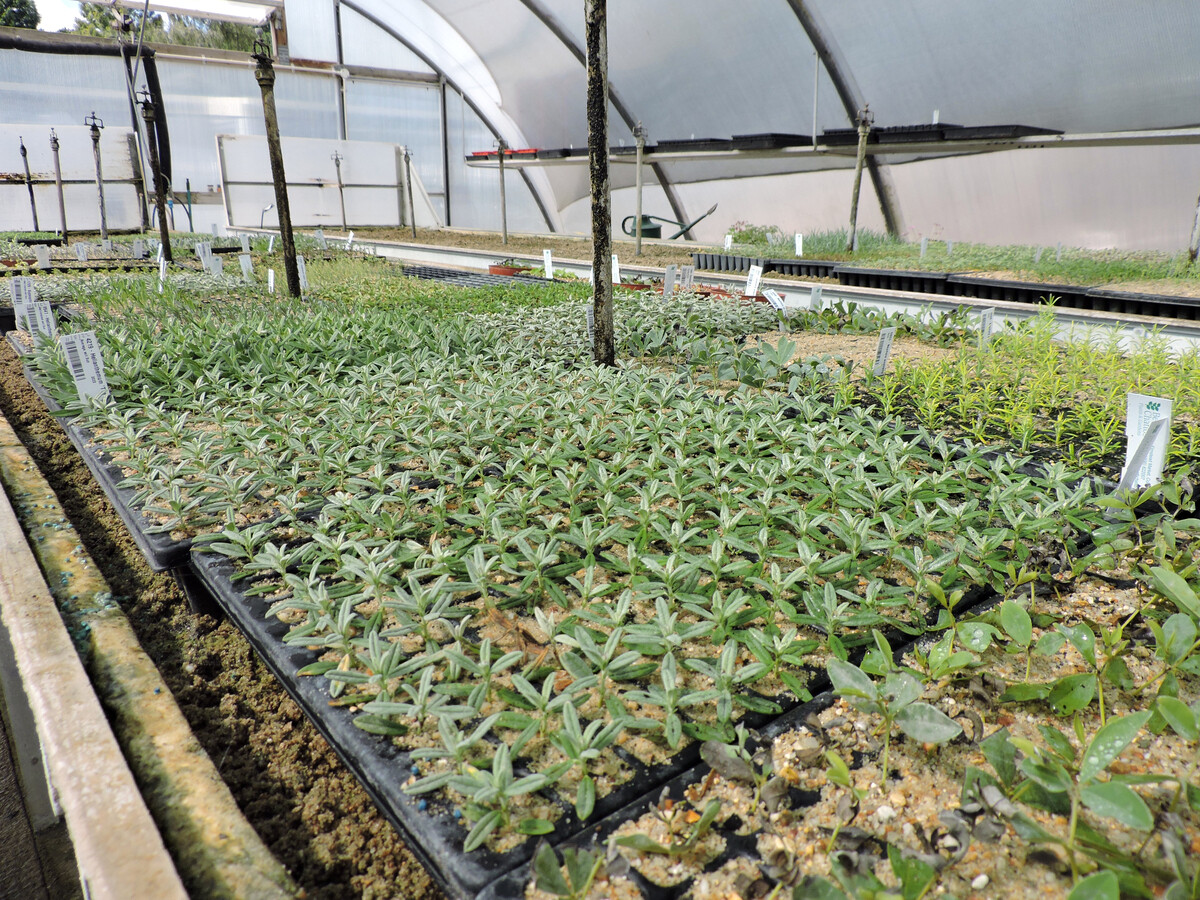
A guide to taking cuttings

Cuttings are a great method of asexual reproduction which allows you to create more of your favourite garden plants by simply cutting off a stem. Here at Beth Chatto's, we propagate many of our plants from cuttings such as nepeta, ballota (now pseudodictamnus), verbena, oenothera and even salvia. Many of the plants will have a certain time of year that they can be propagated and offer the most success, which is typically when they are not in flower, but it is always important to look up the plant you want to take cuttings from.
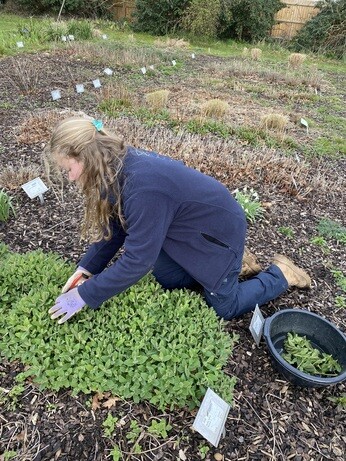
The process of taking cuttings from a plant is simple. Cut as many stems off your plant as you require, making sure to cut so the stem has 2-3 visible nodes (the bumps or lines where the leaves form). You can place your cuttings in a bowl of shallow water to stop them drying out whilst you prepare your tray or pot. Use either a seed and cutting compost, or a fine compost mix to fill a plug tray or pot ready to place your cuttings into. Pots can be topped with sand too if you desire. Once your tray is prepared, water it from above with a watering can to make the compost easier to plant into.
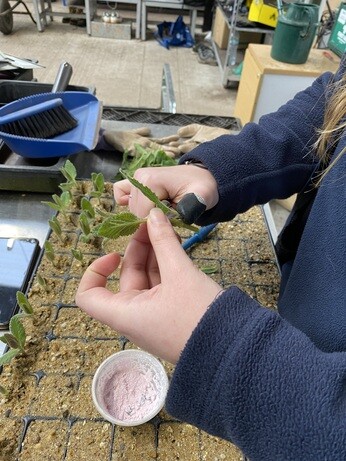
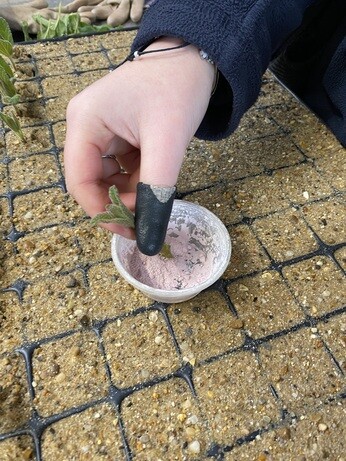
Prepare your cuttings by removing the bottom sets of leaves so you only have the newest and smallest leaves remaining. This helps to reduce water loss through the leaves, and for the same reason, large leaves can be cut in half to reduce the surface area. Using a knife or a pair of snips, cut the bottom of the stem on a slight angle just underneath a node before dipping in rooting hormone. Then, using a dibber, make a hole in the compost before lowering your cutting in with one hand and using the other to gently secure the cutting in place with a dibber, pushing the compost around the stem to close the hole.
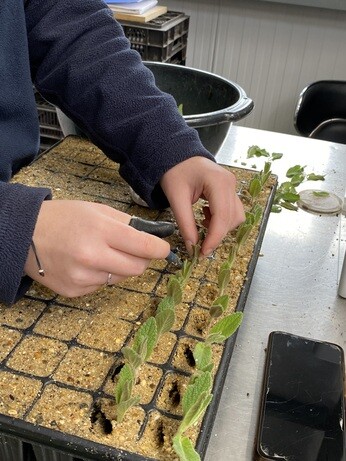
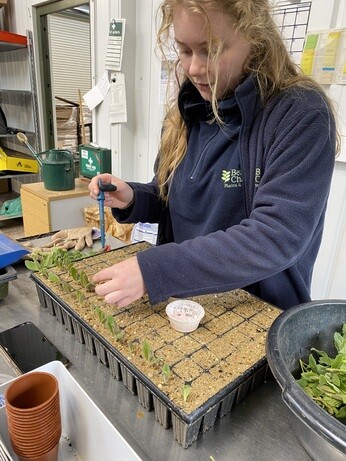
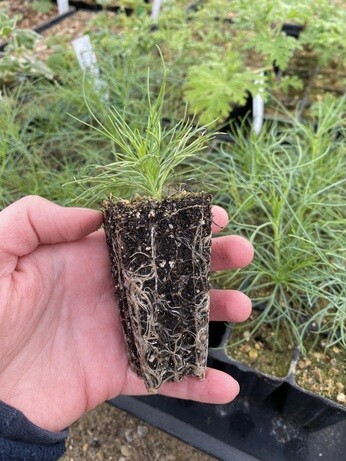
Finally, using a watering can with a rose, water the tray/pot from above to allow the compost to settle and fill in any holes. Place the cuttings in a warm and humid environment to encourage them to root. You can use a plastic bag over your pot to create a mini greenhouse environment. Typically you should start to expect roots after a month or so, but depending on the cutting, this could be longer. By gently tugging on the plant you can feel whether roots have begun to form. Remove any cuttings that go black/brown to avoid mold affecting the other cuttings.


Just bought Nepeta will be, hopfully doubling my supply. Thnks for the advice